
Have you ever wondered if a simple, at-home treatment could refresh your skin? Imagine taking just four minutes to gently brush away old layers and let your natural glow shine through.
This easy treatment helps smooth your skin and brighten your tone without an expensive salon trip. We’re excited to share some safe, expert tips for doing microdermabrasion at home, so you can enjoy clear, radiant skin while keeping your routine effortless and fun.
Ever notice how a little self-care can totally transform your day? You deserve it!
How to Perform Microdermabrasion at Home Safely and Effectively
At-home microdermabrasion is a fun way to boost your natural glow between salon visits. Imagine treating yourself to a quick four-minute session that gently sweeps away dead skin cells and reveals a smoother, brighter you. With a little weekly commitment, you'll notice your skin’s texture and tone improving over time, almost like a mini pick-me-up that keeps your look fresh and youthful.
That said, it’s important to take care. Home treatments can sometimes lead to irritation, scarring, or damage if you're too aggressive. If you have sensitive skin or conditions like active acne, eczema, or rosacea, it might be best to get professional advice first. Start on the lowest setting to see how your skin reacts, and keep in mind that while these gadgets can offer salon-like results, they aren’t a full substitute for professional procedures.
Before you get started, make sure you have a trusted microdermabrasion device and prepare your skin with a gentle cleanser. This step helps exfoliate face and clear away impurities, so your treatment goes smoothly and safely.
Essential Equipment for DIY Home Microdermabrasion
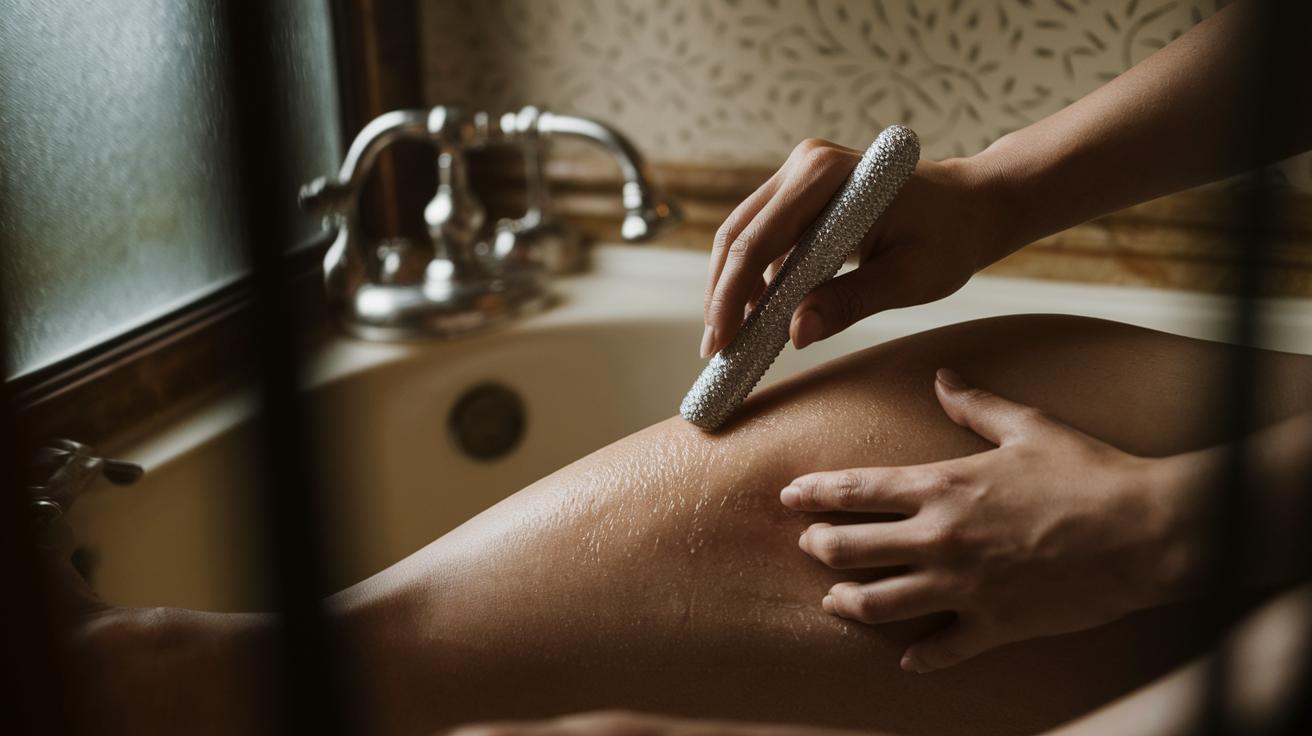
Finding the perfect home skincare gadget is all about balance. You want a tool that mixes the right exfoliation tip with solid suction power and is super easy to use. When you're picking between a diamond resurfacing tool or a crystal exfoliation system, it's smart to choose one that blends performance with safety. Look for a device that targets dead skin effectively while letting you adjust settings to match your skin's needs.
Maybe you love the idea of a home spa unit with a clear LCD guide, or perhaps a device with a swiveling neck that makes it easy to handle is more your style. Either way, these options are built to help you achieve that radiant, glowing skin you’re after.
| Device | Exfoliation Tip | Suction Levels | Special Features |
|---|---|---|---|
| PMD Personal Microderm Classic | Aluminum oxide crystal disc | Calibrated vacuum suction | Effective dead-skin removal |
| Microderm Glo Diamond Machine | Two diamond-tip sizes | Standard suction | Ergonomic handle, four-minute cycles |
| Trophy Skin MicrodermMD | Multifunctional tip | Adjustable suction intensity | LCD guide with customizable auto mode |
| Lancer Skincare Pro Polish | Diamond tip | Three suction levels | Swiveling neck for easier maneuvering |
Step-by-Step DIY Microdermabrasion Facial at Home
Before you start, make sure your face is completely clean, no makeup, no leftover dirt. A fresh, smooth surface lets the diamond-tip device glide effortlessly, giving you an even, gentle exfoliation. Get all your tools ready, set up a calm spot, and prepare for a relaxing four-minute session that will leave your skin glowing.
-
First, wash your face with a gentle cleanser to sweep away dirt and oils. Think of it like prepping a soft, clear canvas before you create a beautiful picture.
-
Next, choose the right tip for your skin concerns. If you have a diamond-tip device, pick a setting that feels just right for you. For example, use a lower suction when you’re treating sensitive spots like your T-zone.
-
Set your device to the lowest suction level and use light, even strokes. Glide slowly across your forehead, don’t linger in one spot for more than 3 to 5 seconds to avoid any irritation.
-
Then, move on to your T-zone. Starting from your forehead and moving to your nose, use gentle strokes over every area. It’s like a soft brush of a cool breeze, refreshing your skin with every pass.
-
Now, take care of your cheeks and chin. Keep the device on the low setting, and if you feel any discomfort, adjust the tip until it feels right. The goal is to keep each move smooth and gentle.
-
Don’t forget your neck, it deserves the same care. Use short, careful strokes that blend seamlessly with your facial treatment. Our necks are important parts of our overall radiance!
-
Finally, rinse your face with cool water and gently pat it dry. Follow up with a moisturizing serum and a broad-spectrum SPF to lock in hydration and protect your skin from daily stress. This final touch ensures that your new skin layer stays refreshed and safe.
For the best results, keep your sessions to once a week and always follow up with hydrating products and sun protection. Enjoy the glow and feel confident every time you look in the mirror!
Safety Guidelines and Skin Types for Home Microdermabrasion

Before trying microdermabrasion at home, take a moment to think about your skin type. If you have normal or combination skin, you might experience some gentle benefits from this treatment. However, if your skin tends to be sensitive or you’re dealing with acne, eczema, or rosacea, it’s best to skip it since these conditions could lead to irritation or scarring. Choosing a device with adjustable settings means you can tailor the treatment intensity to suit your skin’s comfort level, making it a safer option for many.
When setting up your microdermabrasion routine, remember to start low and go slow. Try the device on a small patch first before you use it on your whole face. This little test helps strike the perfect balance between effective exfoliation and gentle care.
Here are a few friendly tips:
- Always do a patch test on a small area before treating your entire face.
- Start with the lowest suction setting to see how your skin responds.
- Limit sessions to once a week to avoid over-exfoliating.
- After treatment, apply a broad-spectrum SPF along with a soothing moisturizer. (For extra tips on hydration and sun protection, check out how to get glowing skin).
- Avoid using retinoids and acids for 48 hours after treatment to help your skin recover.
Stick with these simple guidelines, and you’ll create a gentle and balanced exfoliation routine that leaves your skin looking vibrant and feeling healthy.
Comparing Top At-Home Microdermabrasion Kits and Their Costs
| Product | Price | Key Features | Consumer Feedback |
|---|---|---|---|
| PMD Personal Microderm Classic | $139 | Steady suction power that softly lifts away old skin cells | Users rave about its smooth, spa-like finish – “It works like a charm and leaves my skin instantly smoother.” |
| Microderm Glo | $89 | Diamond-tip design that delivers effective four-minute treatments | Stuff like quick sessions and clear directions makes it a hit – “I love the speedy sessions that leave my skin glowing.” |
| Trophy Skin MicrodermMD | $199 | Easy-to-read LCD display with adjustable settings for a custom treatment | People enjoy the personal spa feel – “The settings let me tune it just right, making it feel like a full spa treatment at home.” |
| Lancer Pro Polish | $150 | Comfortable design combined with strong suction for consistent exfoliation | Great reviews for its reliable performance – “Its design and suction make my skin feel refreshed and renewed.” |
| GoopGlow Instant Glow Exfoliator | $65 | Merges micro-exfoliating crystals with glycolic acid (a gentle acid that helps brighten skin) for a dual benefit | Favored for boosting brightness and even texture – “The mix feels unique and gives my skin a healthy, long-term glow.” |
The variety in prices and customer experiences shows off each kit’s unique charm. Fun fact: many users notice smoother, brighter skin after just one session, blending smart technology with super easy, user-friendly design.
Maintenance and Aftercare for Lasting Home Microdermabrasion Results

Right after your treatment, gently dab your skin with a soft towel and apply a moisturizer rich in ceramides (these are natural lipids that help rebuild your skin’s barrier, much like giving your skin a refreshing reset after a splash in the pool). Then, layer on a broad-spectrum SPF and keep heavy makeup at bay so your pores can breathe and heal.
Make microdermabrasion a regular part of your routine by scheduling weekly sessions for a naturally brighter tone and smoother feel. After sticking with it for about 4–6 weeks, you might try a slightly stronger monthly treatment if your skin seems ready for it. And remember, steer clear of active serums and acid-based treatments for about 48 hours to keep your skin calm and happy on its journey to long-term improvement.
Final Words
In the action, we broke down how to tackle your at-home skincare routine with a clear, step-by-step guide. We highlighted the benefits of brighter skin and smoother texture, while also covering essential precautions to keep your skin safe.
We also looked at how to pick the right tool and prepare your skin for a simple, effective treatment. With practical advice on microdermabrasion at home, your skincare routine just got a boost. Enjoy every moment of your radiant, refreshed look!
FAQ
What is a microdermabrasion at home kit?
The microdermabrasion at home kit offers a set of tools that gently removes dead skin cells. It renews your skin’s texture and brightness, providing a safe alternative to professional treatments.
How can I perform microdermabrasion at home without a professional machine?
The microdermabrasion method can replace a full machine with user-friendly tools. It effectively removes dead layers and brings out clearer, radiant skin when used correctly at home.
What are the benefits of using microdermabrasion at home for my face?
The microdermabrasion treatment at home boosts skin brightness and smoothness. Regular sessions can refresh your complexion and help reduce minor imperfections between professional visits.
What should I look for in a microdermabrasion product for home use?
The microdermabrasion product selection should prioritize user-friendly design and adjustable settings. Look for features like customizable suction and multiple tips to match your skin type safely.
Is it safe to perform microdermabrasion on myself?
The DIY microdermabrasion can be safe when you follow proper instructions and gentle techniques. Always perform a patch test and use low suction to avoid irritation or injury.
Does home microdermabrasion really work for lasting skin improvement?
The home microdermabrasion treatments work by gradually removing old skin layers for smoother, healthier skin. Consistent use paired with proper aftercare supports a refreshed, youthful appearance.
