
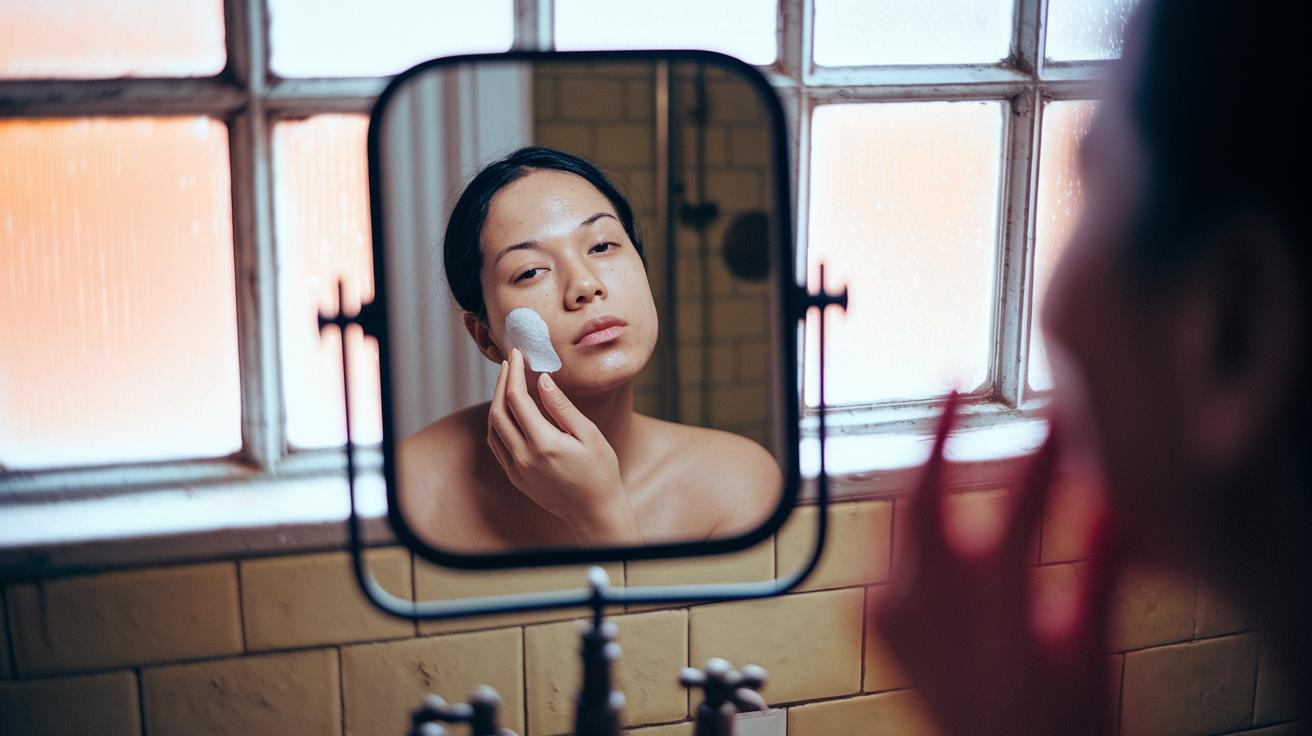
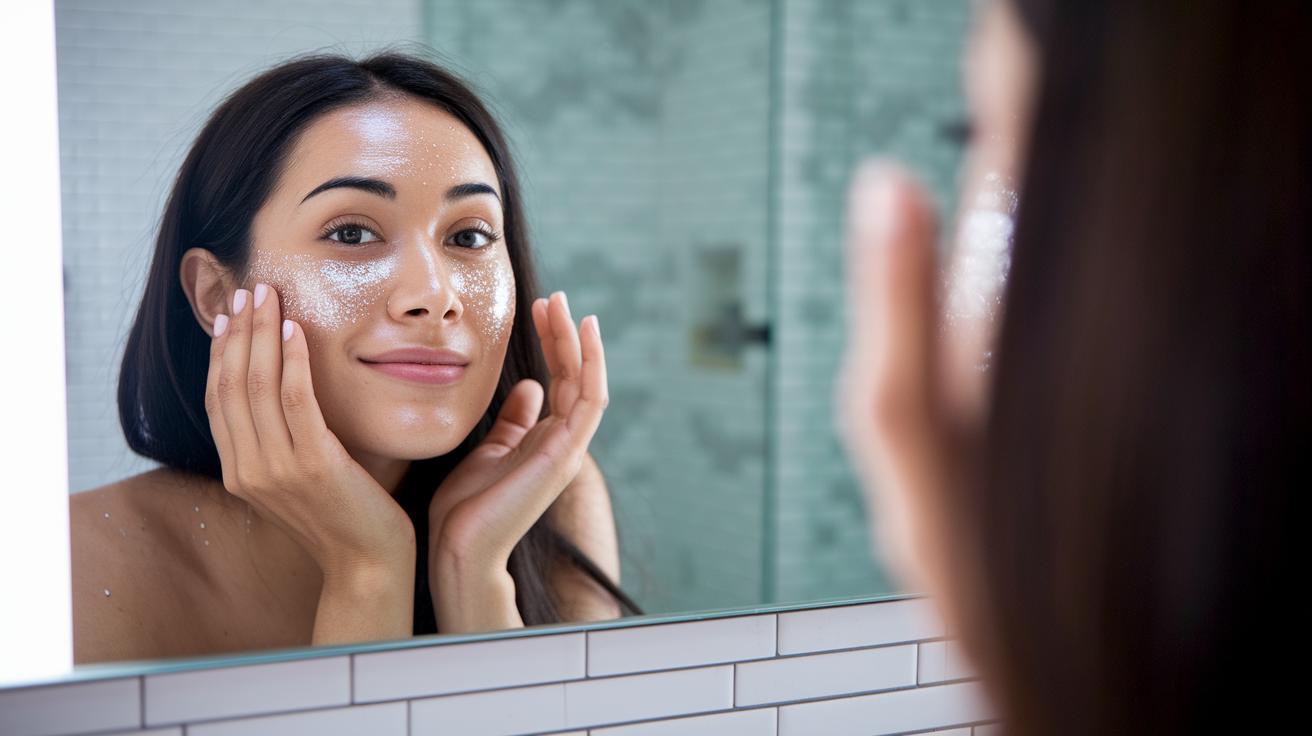
Ever thought about giving your skin a little refresh right at home? At-home chemical peels use gentle acids like AHAs (alpha hydroxy acids, which help remove old skin cells) and BHAs (beta hydroxy acids, known for unclogging pores) to clear away tired cells and reveal a brighter you.
Picture a routine that smooths fine lines and evens out your skin tone while boosting your confidence every day. You can achieve that glowing look when you choose a peel that fits your skin’s needs and stick to a simple routine.
So, why not start your fresh new chapter right in your very own bathroom?
At-Home Chemical Peel Overview: How They Work, Benefits, and Purchasing Options
Ever wondered how to give your skin a fresh new look right at home? These at-home chemical peels use gentle ingredients like AHAs, BHAs, and enzymes to sweep away old, dull skin cells. They’re made with mild acid levels (5–20%), so they only work on the outer layer, leaving deeper skin safe.
You’ve got three options to choose from. For small bumps in texture and slight unevenness, a superficial peel does the trick. If you’re looking to soften fine lines and little scars, a medium peel might be perfect. And for more noticeable wrinkles and stubborn spots, a deep peel can offer a more targeted solution.
The benefits are pretty enticing: think smoother skin, a more even tone, and fewer fine lines. Imagine a simple, calming routine that clears away dullness and lets your natural glow shine through, all without stepping out the door. Experts recommend picking peels that share clear ingredients and proper pH details, ensuring your skin gets the gentle care it deserves.
You can easily find these kits at well-known beauty stores or online. They’re a budget-friendly and convenient way to boost your skin’s health without needing a professional treatment. With the right strength and careful use, you can look forward to small, satisfying steps toward a more radiant complexion.
Key Acid Types for DIY Home Chemical Peels
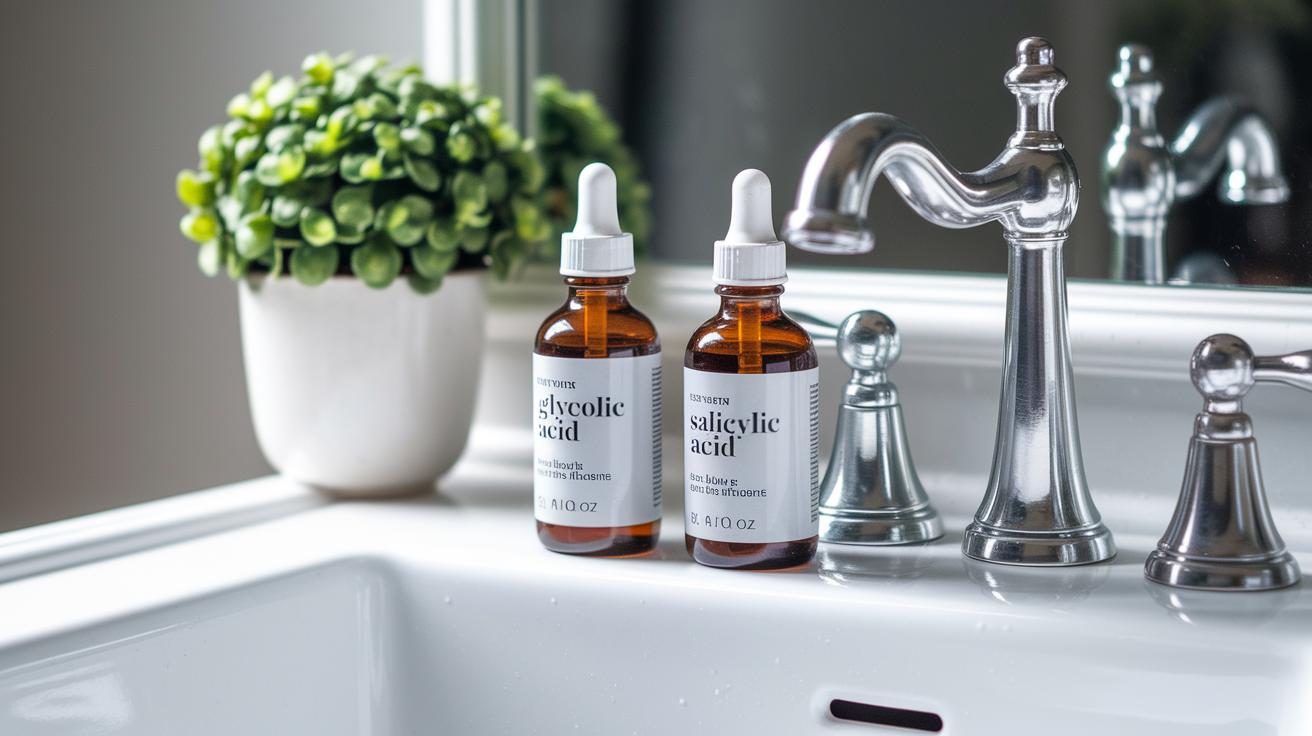
Alpha Hydroxy Acids (AHAs)
Alpha hydroxy acids, like glycolic and lactic acid, help sweep away old skin cells so you can reveal a softer, well-hydrated face. You’ll often find products with 5–15% glycolic acid or 5–10% lactic acid. They gently boost hydration, smooth out tiny lines, and even out your skin tone. Imagine starting your day with a glycolic peel that feels like a cool splash of water on a summer morning. It's a little pick-me-up for your skin that leaves you glowing.
Beta Hydroxy Acids (BHAs)
Salicylic acid is the standout star here, it’s oil-soluble, meaning it can dive deep into your pores to clear out excess oil and impurities. This makes it a top pick for anyone with acne-prone or oily skin. At a gentle 1–2% concentration, it targets pore congestion without causing too much irritation. Think of it like a deep cleanse that refreshes your skin by washing away all that extra baggage, giving your face the room it needs to breathe.
Enzyme-Based Peels
Enzyme peels come straight from nature, using ingredients like pumpkin or papaya to softly lift away dead skin cells. They’re perfect for folks with sensitive skin because they’re gentle and kind, avoiding harsh chemicals that might upset your skin’s balance. Picture a light, fruity infusion that smoothly polishes your skin, it’s nature’s own way of keeping your complexion calm, balanced, and beautifully refreshed.
Step-by-Step At-Home Peel Procedure
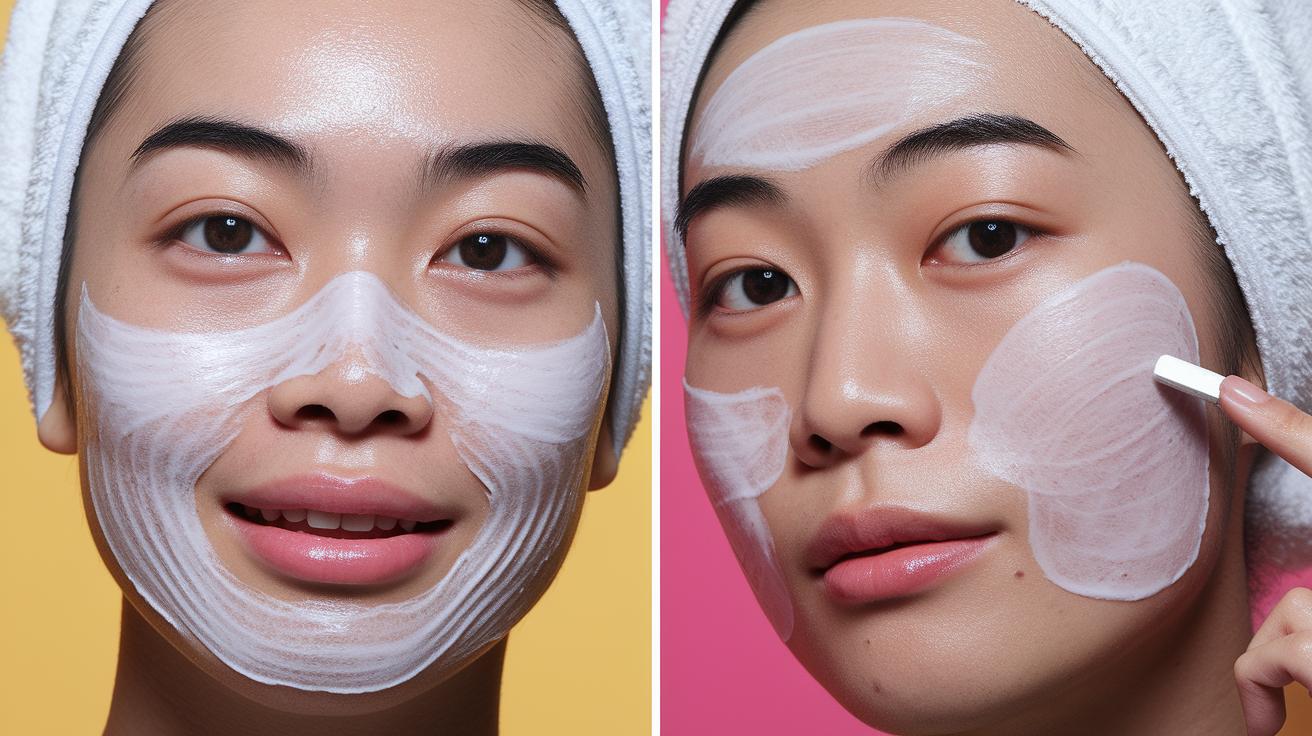
Getting ready for your at-home peel is easier than you might think. First off, clean your face with care, this simple, clear step makes sure any oils or dirt don’t get in the way of your treatment. If you’re curious about mastering your skincare routine, you can even check out tips on how to exfoliate face.
Here’s a friendly guide to follow:
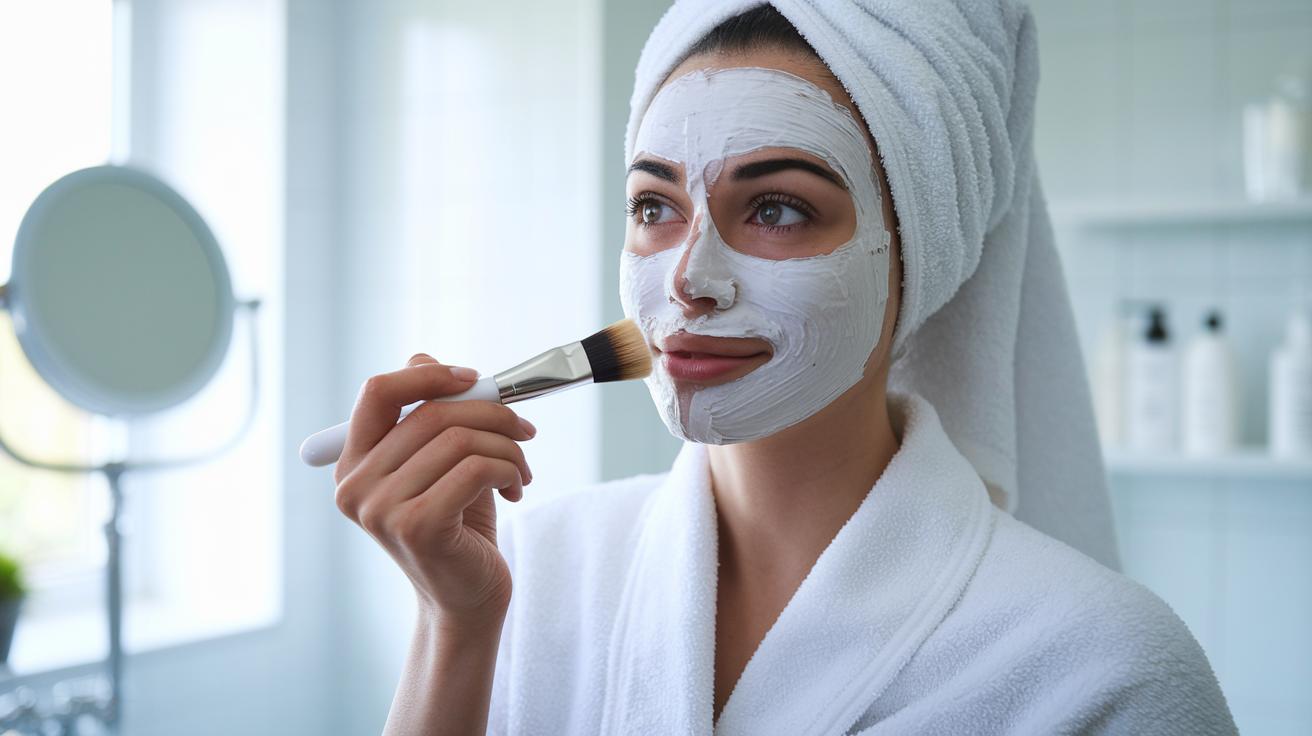
- Start with a deep cleanse and gently pat your skin dry.
- Do a small patch test on your jawline to see how your skin reacts.
- Use a brush or cotton pad to spread the peel solution evenly over your face.
- Stick to the timing rules, usually between 3 and 15 minutes, depending on how strong your peel is.
- Rinse off or neutralize the solution completely as directed.
- Soothe your skin by applying a calming moisturizer.
- Wrap it up with a broad-spectrum SPF every day to protect against harmful UV rays.
After you finish, your skin should feel refreshed and ready to bounce back. I like to say that following these steps is like giving your skin a little spa day at home. Just remember, lighter peels work well once a week, while a medium peel might be best once a month. Enjoy the process and treat yourself kindly, it’s all about keeping your skin happy and glowing!
Safety Protocols and Aftercare for Home Chemical Peels
When you're ready to try a home chemical peel, remember that even mild treatments can sometimes cause irritation or burns if not treated with care. It's best to stick to the guidelines: opt for superficial peels just once a week and save medium peels for once a month. And if your skin stays red for more than a day, that's your cue to take it easy, kind of like doing a small test run before going all in.
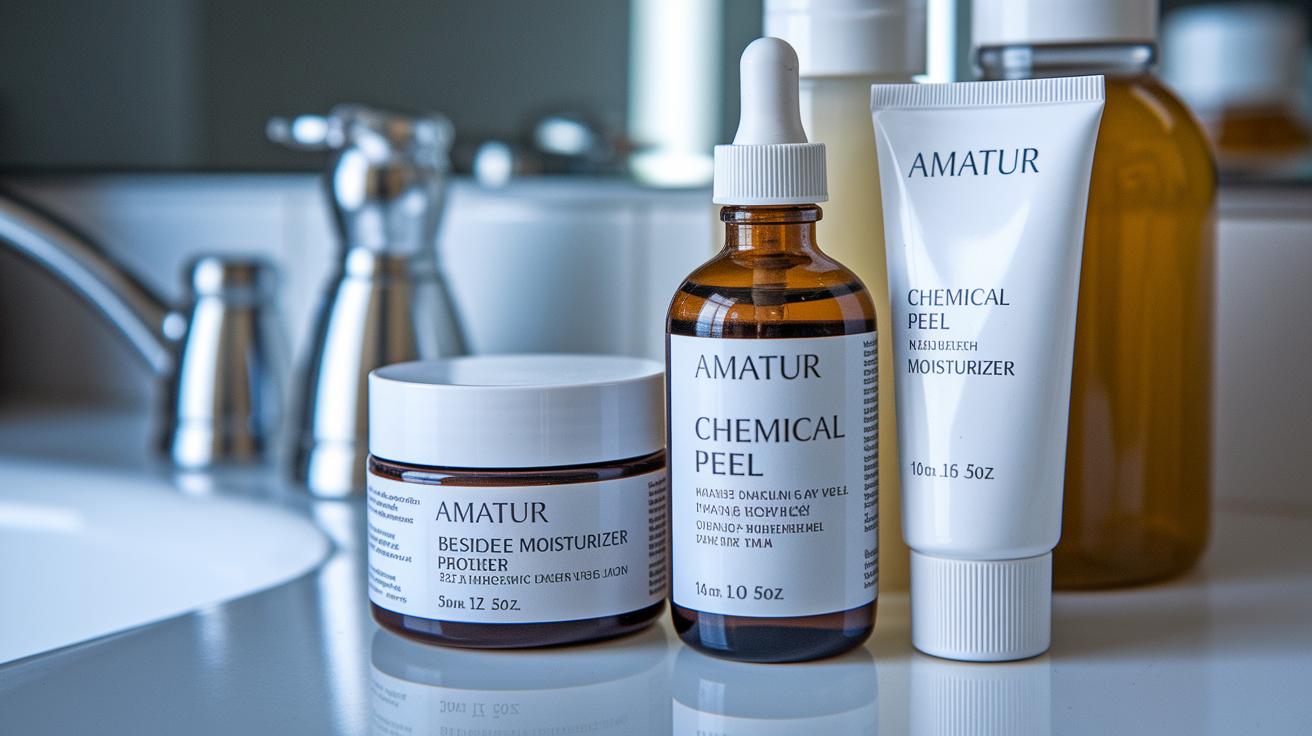
After a peel, give your skin a break from strong actives like retinoids, vitamin C, or extra acids for at least 48 hours. This little pause helps your skin settle down without any extra fuss. Over the next day or two, try to avoid direct sunlight and be sure to wear SPF 30+ every morning. A soothing moisturizer can really help calm things down, almost like a soft, comforting blanket for your face.
By following these aftercare steps, you'll help your skin stay safe and happy, and soon enough, you'll sport a brighter, refreshed look.
Before and After Peel Transformation Insights
Right after your very first at-home peel, you might notice a gentle shimmer on your skin. It’s like witnessing a soft sunrise that promises beautiful changes ahead.
By about week four, many users see their acne scars lighten by 40 to 60%. Imagine those stubborn marks gradually softening while your skin looks more even. Studies and real-life stories show that with 3 to 6 regular sessions, fine lines become less visible and dark spots start to fade, revealing a smoother look.
One user shared, "After just four sessions, my skin felt smoother and the dark spots were a lot less noticeable." Each peel brings you one step closer to a fresher appearance, adding a touch of brightness every time.
Keep in mind that real improvements take time. Each treatment builds on the last, adding a bit more clarity and radiance. With patience and a little regular care, you can expect your skin to evolve into a beautifully refined canvas that shows your commitment to self-care.
Comparing At-Home Peels with Professional Treatments
Ingredient Strength and Concentration
At-home peel kits usually come with acid levels between 5% and 20%, which means they only work on the very top layer of your skin. This gentle formula uses active ingredients, like glycolic or lactic acid (AHAs that smooth your skin) and salicylic acid (a BHA that helps with breakouts), to softly exfoliate and renew your skin. Meanwhile, professional treatments are made with much stronger solutions, from 20% up to 70% acid, that dig much deeper and give quicker, more dramatic results. Think of it like lighting a cozy candle at home versus setting off a bold bonfire in a salon. In simple terms, at-home peels are great for keeping your skin bright and even, while professional peels target tougher issues like deep wrinkles or stark discoloration.
Downtime, Frequency, and Cost
At-home chemical peels tend to heal quickly. Any redness or peeling usually disappears within 48 hours, which makes them an easy fix you can do weekly or monthly. On the flip side, professional treatments might have you looking a bit pink for about 5–7 days and are typically done less often, usually a few times a year, to give your skin plenty of time to recover. Price-wise, home kits are wallet-friendly, ranging from $20 to $100, compared to the $150–$400 you might spend for a professional session. This shows that at-home peels give you a taste of salon care without the high cost, making them a smart, accessible choice for busy, modern women.
Top-Rated At-Home Chemical Peel Kits: Reviews and Comparisons
Looking for a salon-style peel you can use at home? These six kits really stand out. They’re loved for their clear, honest ingredient lists, affordable prices, and glowing reviews (about 4.5 out of 5). There's something here for every skin need, from calming sensitive skin to smoothing out fine lines, blemishes, or dark spots. Imagine a peel that gently renews your skin versus one that works hard to clear up breakouts.
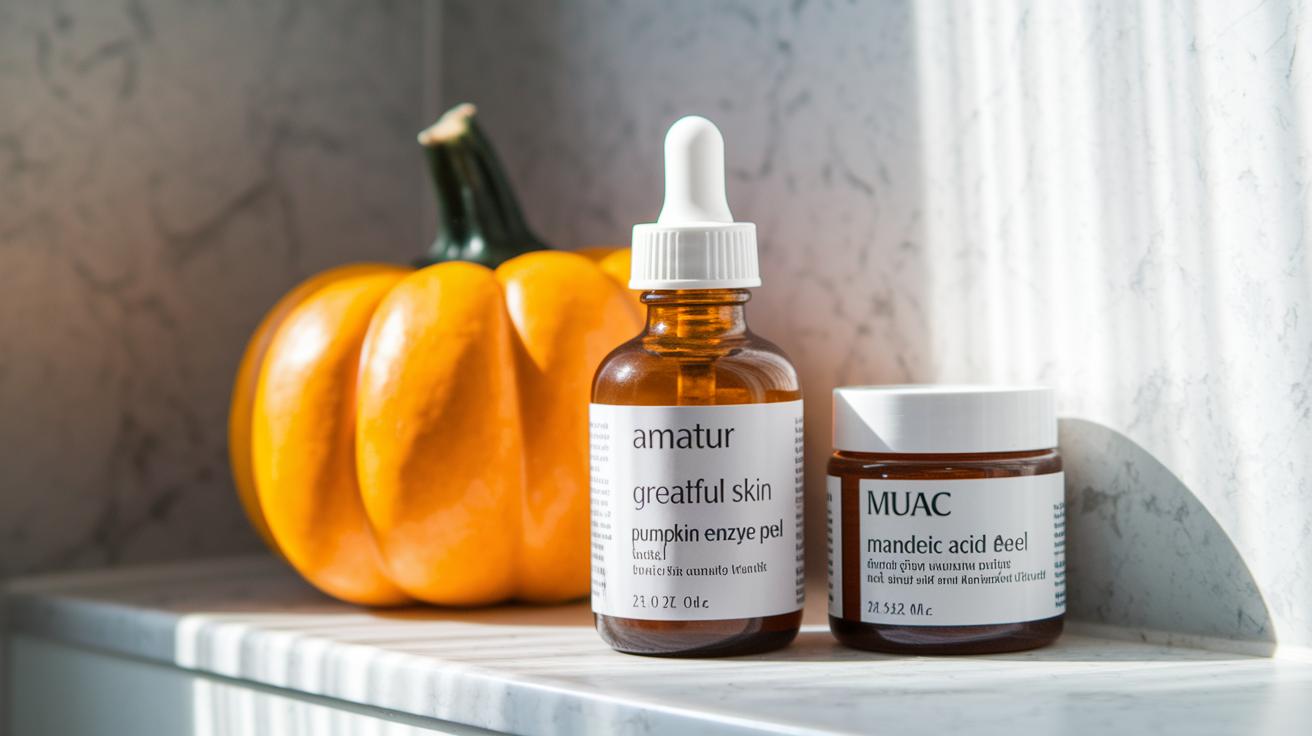
GreatFull Skin Pumpkin Enzyme Peel feels like a soft, fruity burst, offering a light treatment that won’t irritate. If you need a boost for uneven skin tone and small scars, MUAC 25% Mandelic Acid Peel is a great pick thanks to its gentle smoothing effect. Makeup Artists Choice 40% Lactic Acid Peel is all about hydration and texture, leaving you with a dewy, refreshed look. For those dealing with oily or acne-prone skin, Perfect Image 20% Salicylic Acid Gel Peel clears out pores and tames excess oil like a precision tool. YEOUTH 30% Glycolic Acid Peel is perfect for attacking stubborn dark spots and fine lines, and it's powered by a boost from sugarcane. Lastly, Perfect Image 15% TCA Peel, with its medium-strength formula, targets deeper discoloration and scarring for a noticeable lift when used correctly.
| Kit Name | Acid Type & Concentration | Best For | Price | User Rating |
|---|---|---|---|---|
| GreatFull Skin Pumpkin Enzyme | Enzyme-based | Sensitive, refreshed look | $20–$50 | 4.5/5 |
| MUAC 25% Mandelic Acid | Mandelic Acid 25% | Uneven tone & small scars | $20–$50 | 4.5/5 |
| Makeup Artists Choice 40% Lactic Acid | Lactic Acid 40% | Hydration & texture boost | $20–$50 | 4.5/5 |
| Perfect Image 20% Salicylic Acid Gel | Salicylic Acid 20% | Acne & oily skin | $20–$50 |
