
Ever wonder if a few kitchen staples can light up your skin like a hidden treasure? Imagine mixing vitamin C (a brightening boost), hyaluronic acid (an ingredient that keeps your skin plump), and soothing oils to create a serum that's as natural as it is refreshing. You get to choose the ingredients that suit your skin best, turning your skincare routine into a fun, creative ritual. This DIY trick transforms everyday items into a radiant boost that revives your complexion from within.
How Homemade Serums Boost Natural Glow
Homemade serums are like little potions bursting with nutrients. Unlike regular moisturizers, they pack a punch with concentrated active ingredients that dive deep into your skin. Think vitamin C (a brightening agent that fights dullness), hyaluronic acid (a hydration hero that locks in moisture), and essential oils that add a gentle, soothing touch. It’s like mixing your personal recipe for a radiant, refreshed complexion.
Making your own serum is not only budget-friendly but also super customizable. You get to choose the ingredients that work best for your skin, be it for fighting fine lines or smoothing out uneven texture. Ever notice how putting together your own mix makes you feel in control? It’s like embracing a little DIY magic that evolves with your skin’s needs.
These serums bring more than just a pretty glow. They brighten your complexion, boost hydration, and even tackle early signs of aging. With each use, these potent ingredients work together to revive your skin from within, leaving you with a naturally luminous look that feels both fresh and empowered.
DIY Homemade Serums Recipes for Glowing Skin
Here are some fun, easy recipes to give your skin a natural boost right at home. Each serum is designed to suit different skin needs, and the ingredients can be found at your local store. Have fun mixing up your own skincare treats!
-
Basic 10% Vitamin C Serum (for all skin types)
In a 1 oz dropper bottle, mix 1/4 teaspoon of vitamin C powder, 5 drops of hyaluronic acid (this helps lock in moisture), and 2 drops of vitamin E. Top it off with your favorite carrier oil.
Benefit: This serum gives your skin a strong antioxidant lift, brightening your complexion and offering added protection. -
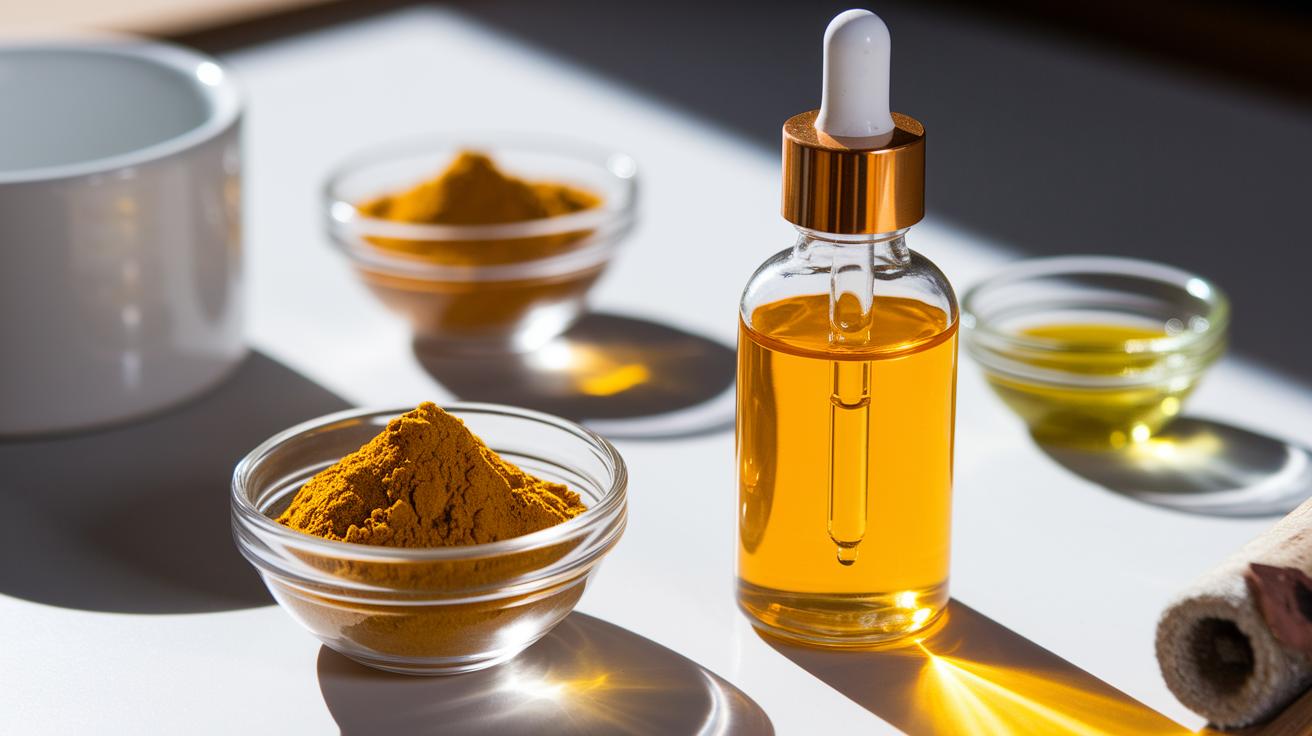
Turmeric + Rose Water Brightening Serum (for dull skin)
In a 1 oz dropper bottle, blend 1/4 teaspoon of turmeric powder, 1 teaspoon of rose water, and 3 drops of frankincense oil.
Benefit: This natural potion boosts your skin’s glow and works to even out your skin tone, thanks to the vibrant botanicals. -
Cucumber + Green Tea Soothing Serum (for oily/sensitive skin)
In a 1 oz dropper bottle, combine 1 tablespoon of cooled, brewed green tea, 1 teaspoon of cucumber extract, and 2 drops of lavender essential oil.
Benefit: This soothing serum calms sensitive areas and helps balance oil production, leaving your skin feeling refreshed. -
Rosehip Oil Serum (for dry skin)
In a 1 oz dropper bottle, add 15 ml of rosehip seed oil along with 5 drops of frankincense oil and 2 drops of valor essential oil.
Benefit: Deep nourishment and hydration come from this blend, enriched with omega-rich antioxidants to restore moisture. -
Orange Peel + Aloe Serum (for acne-prone or uneven skin)
In a 1 oz dropper bottle, mix 1 teaspoon of orange peel extract, 1 tablespoon of aloe vera gel, and 3 drops of vitamin C concentrate.
Benefit: This serum helps fade acne marks while delivering a refreshing citrus brightness to your complexion.
Key Ingredients in Homemade Serums for Glowing Skin
Imagine mixing a few brilliant, skin-loving ingredients into a single serum that lights up your natural glow. Your homemade serum is like a personal cocktail for your skin, where each component plays a special role in brightening, hydrating, and strengthening your protective barrier. Jojoba oil offers a super-light base that soaks in quickly, perfect for your everyday routine without clogging up your pores.
Rosehip seed oil joins in as a nutrient powerhouse, full of omegas (those healthy fats) and antioxidants that help even out your skin tone. And then there’s a trio of essential oils, frankincense, lavender, and valor, that work together to calm inflammation and add a soothing, aromatic touch with just a few drops.
Hyaluronic acid acts like a moisture magnet, drawing water into your skin to keep it plump and refreshed, while vitamin E helps stabilize everything and boost your skin’s natural barrier. To complete the ensemble, a dash of vitamin C powder delivers a bright burst of radiance, helping to soften signs of aging and illuminate your complexion.
| Ingredient | Primary Benefit | Recommended Measure |
|---|---|---|
| Jojoba Oil | Light, fast-absorbing base that won’t clog pores | About 0.5 oz per bottle |
| Rosehip Seed Oil | Loaded with omegas and antioxidants for nourishment | Roughly 15 ml per dropper bottle |
| Essential Oils (Frankincense, Lavender, Valor) | Helps ease inflammation and adds a lovely scent | 3–6 drops per oz |
| Hyaluronic Acid | Traps moisture to keep your skin hydrated | 1–2 drops per formulation |
| Vitamin E | Stabilizes the formula and supports your skin barrier | 1–2 drops per oz |
| Vitamin C Powder | Brightens your complexion and fights signs of aging | 1/4 teaspoon per dropper bottle |
Mixing these ingredients lets you craft a serum that’s as unique and radiant as your own skincare style. Enjoy creating something special that feels totally you!
Step-by-Step Process: Crafting Homemade Serums for Glowing Skin
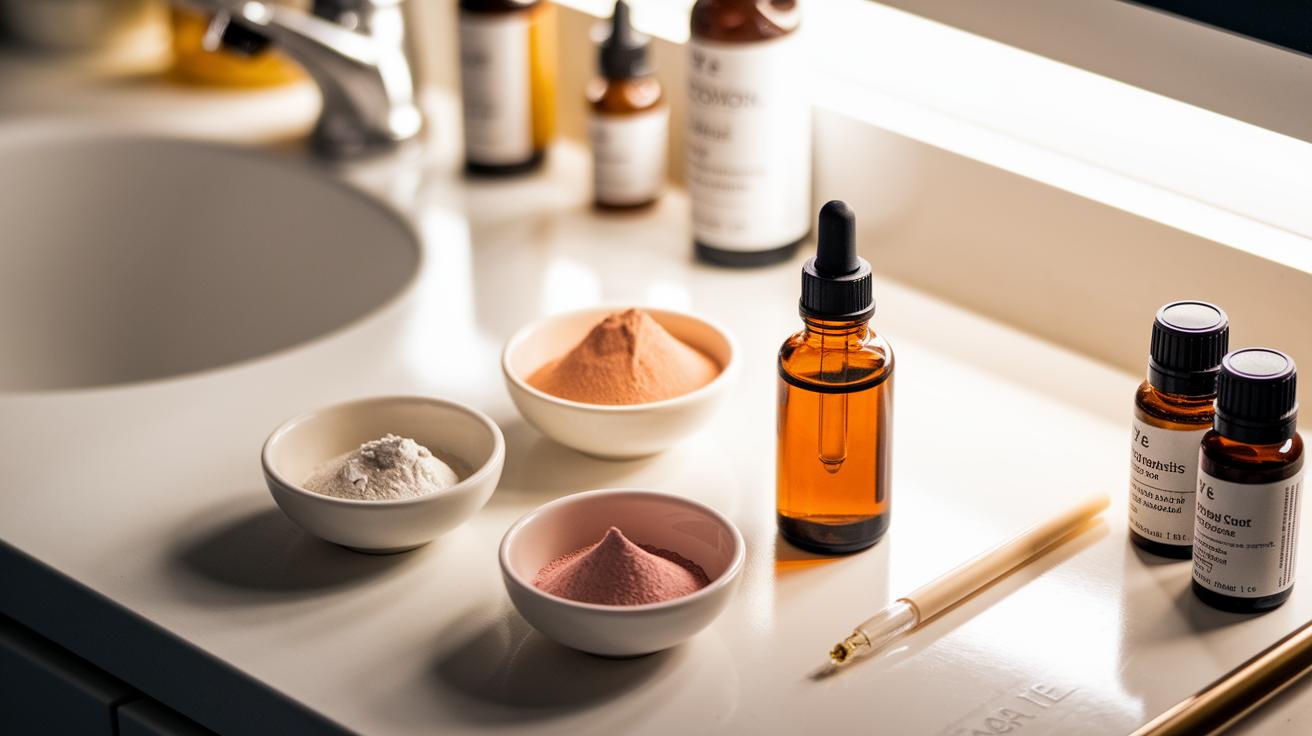
Step 1: Start by gathering everything you need. Pick a carrier oil that won’t clog pores, jojoba oil works great. If your skin is really dry, try mixing equal parts jojoba and rosehip seed oil. Measure out a few drops (think frankincense, lavender, and valor) and check that they’re pure. Have your vitamin C powder, hyaluronic acid, and vitamin E ready too. And don’t forget to set aside your clean 1 oz dropper bottle and measuring spoons.
Step 2: Next, pour your carrier oil into the dropper bottle. It’s important to use the exact amount so your serum turns out perfectly every time. If you’re blending two oils, measure each one equally. This makes sure your mix absorbs quickly without clogging your pores.
Step 3: Now, add in your essential oils. Use between 3 to 6 drops per ounce to keep things safe and effective. Then, carefully add vitamin C powder, hyaluronic acid, and vitamin E one at a time. Stir gently after each addition to mix everything evenly.
Step 4: Do a quick patch test before you use the serum on your face. Just put a tiny drop on the inside of your wrist and wait 24 hours. This step is key to check for any irritation or sensitivity.
Step 5: Once you’re sure it’s safe, transfer the serum into its final dropper bottle and store it in a cool, dark place. This helps keep vitamin C and your other sensitive ingredients strong and effective. Always use ingredients from trusted health food stores or well-known online sources.
Step 6: Finally, label your bottle with the date you made it and a brief list of ingredients. This little note makes it easy to keep track and know when it’s time to mix up a fresh batch.
Safety Tips and Storage for Homemade Serums
Before you mix up your serum, do a quick skin patch test at least 24 hours in advance. Just put a tiny drop on the inside of your wrist and hang out for a day to see if anything reacts. It’s a simple way to make sure your skin is all set for your DIY blend.
Stick with a guideline of about 3 to 6 drops of essential oil per ounce of carrier, keeping your mix gentle. For example, if your skin’s on the sensitive side, 3 drops per ounce might be best. And don’t forget – your homemade serum stays potent for about 4 to 6 weeks before it starts to lose its magic.
Keep your serum safe in an amber dropper bottle, tucked away in a cool, dark space like a makeup drawer where it won’t get too much sun. It’s super helpful to label your bottle with the date you made it and the key ingredients. You might jot down something like, "Mixed on June 10 with lavender and vitamin C blend" so you know when it’s time to whip up a fresh batch, especially before you add your dry brushing for that extra skin glow.
Homemade Serums for Glowing Skin: Common Questions Answered
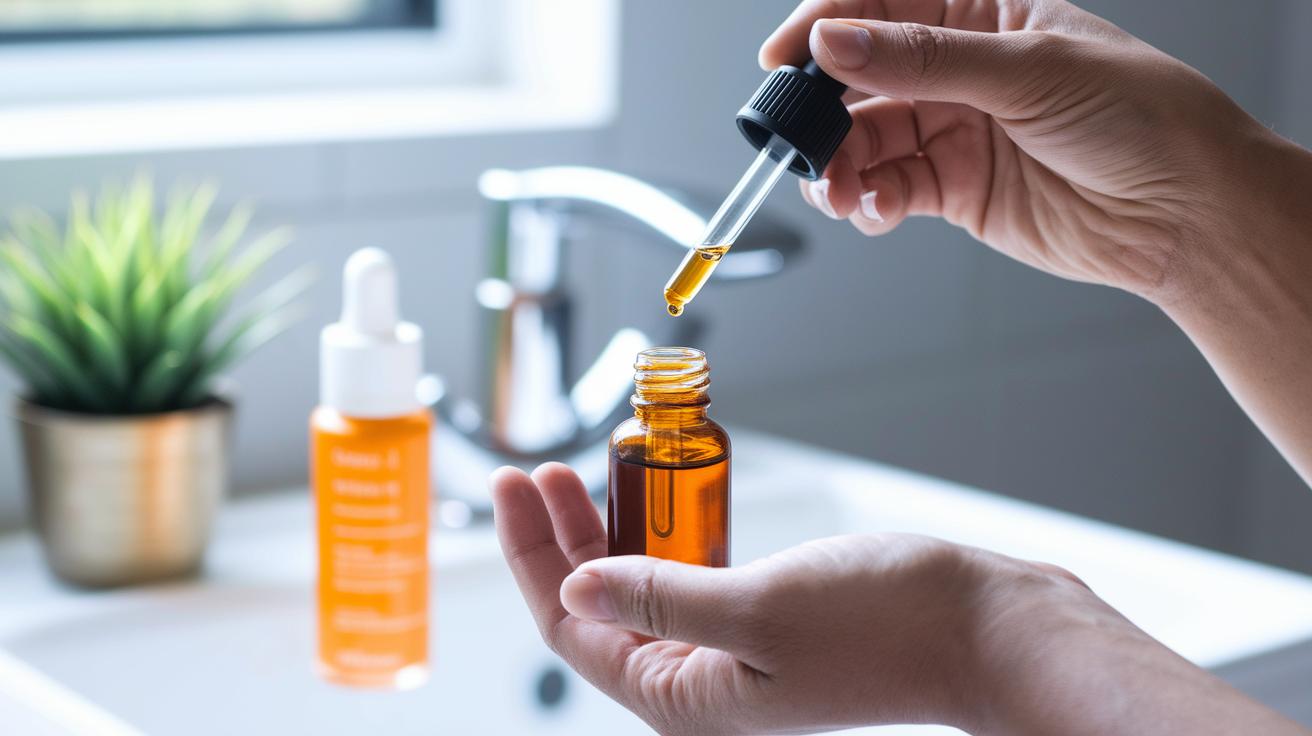
Ever wondered how to start using your homemade serum? Begin by applying it every other day, and once your skin gets comfortable, feel free to use it every morning paired with sunscreen for extra protection.
Curious about when you'll notice a change? Stick with it, and you’ll likely see visible improvements in about 4 to 6 weeks, consistency really pays off!
Thinking about mixing your serum with hyaluronic acid? Go for it! Hyaluronic acid is great for boosting hydration, making your serum even more effective.
Not sure about combining vitamin C with niacinamide or retinol? It's best to avoid mixing them since they can sometimes cause irritation. Instead, use these ingredients separately to keep your skin happy.
Looking for a way to boost the serum's benefits? Try a gentle facial massage right after you apply it. This little step can really help the serum absorb into your skin, giving you that extra glow.
If your skin starts feeling irritated, take a break immediately and perform a patch test before trying out any new serum blend again. Your skin’s comfort always comes first!
Final Words
In the action, the article explored how DIY serums work wonders by delivering potent ingredients directly to your skin. We broke down the do-it-yourself radiant complexion formula, shared easy-to-follow recipes, and highlighted the top ingredients that brighten and hydrate for a truly glowing look. Detailed steps, safety tips, and FAQs made it simple to create your own homemade serums for glowing skin. Step up your routine with these practical tips and enjoy a fresh, confident glow every day.
FAQ
What does a homemade night serum for glowing skin do?
A homemade night serum works by delivering rich, natural ingredients that deeply hydrate and brighten your skin overnight, leaving you with a refreshed and luminous complexion by morning.
How does a DIY serum help with face whitening and glow?
A DIY brightening serum typically mixes vitamin C with soothing oils and natural botanicals to even out skin tone, brighten dull areas, and boost your skin’s natural glow without harsh chemicals.
How does aloe vera improve a homemade serum for glowing skin?
Including aloe vera in your serum helps calm redness and hydrate your skin, offering a cooling effect while supplying antioxidants that promote a smoother, more radiant complexion.
How do you make a homemade face serum for glowing skin?
Making a homemade face serum entails blending a base of carrier oils with vitamin C, hyaluronic acid, and a few essential drops, then patch testing to ensure the perfect balance for your skin.
Which homemade serum is best for oily skin?
A lightweight DIY serum using ingredients like cucumber extract, green tea, and hyaluronic acid is best for oily skin, as it soothes and hydrates without clogging pores or adding extra shine.
What are natural serums?
Natural serums are skin treatments you create at home using plant-based oils, antioxidants, and herbal extracts that penetrate deeply to target specific issues and boost your skin’s inherent radiance.
How do you make a 7-day whitening serum?
A 7-day whitening serum is made by carefully mixing measured doses of vitamin C, aloe, and rose water into a balanced formula, then using it consistently while performing a patch test to safely brighten your skin.
